
Makeup Tools and Accessories: The Half That Is Not Brushes
 ·
Updated August 24, 2026
·
Updated August 24, 2026
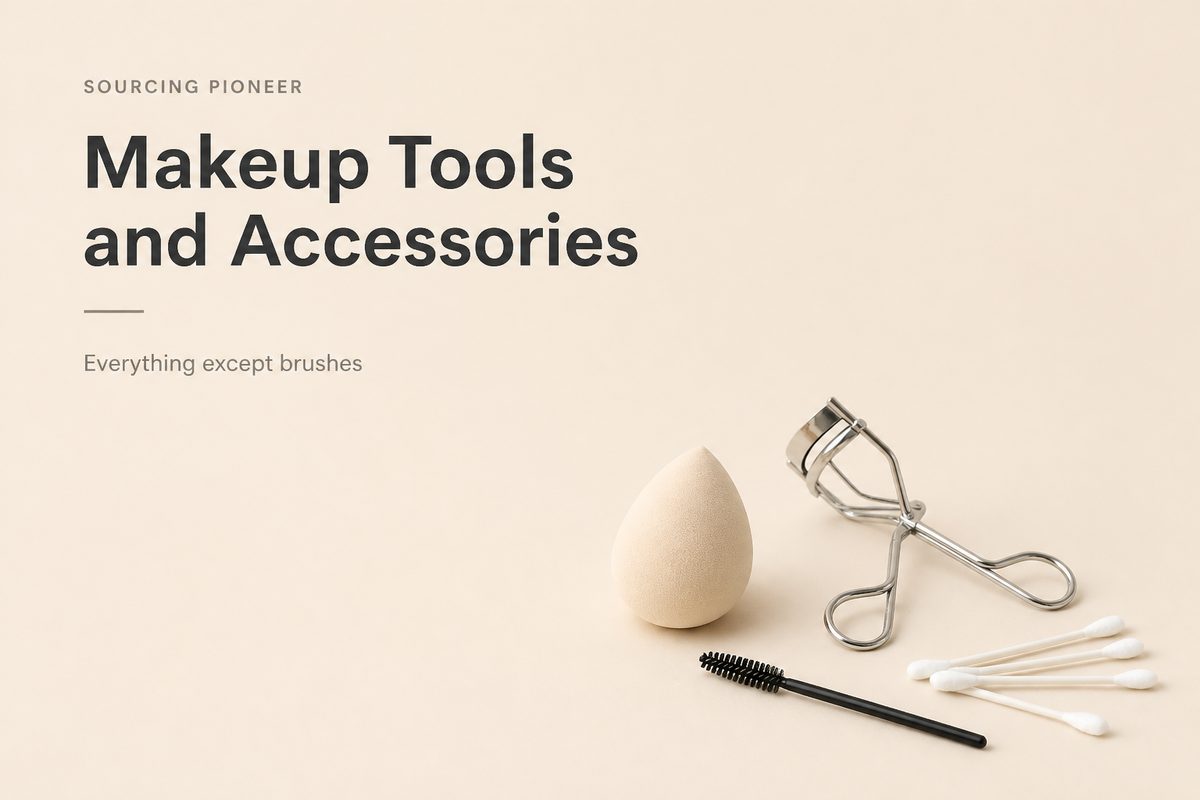
Brushes get all the attention, and they only do half the job. The sponge that presses foundation into skin, the curler that opens your eyes, the spoolie that stops your brows looking blocky — these are the tools that fix the problems brushes leave behind. This page covers everything in a makeup kit that is not a brush.
Brush types, bristle choice and the five-brush minimum kit are covered separately in the makeup brush guide. This page is the other half of the kit.
The five that earn their place
Kits sell you thirty pieces. Most people use these five and leave the rest in the drawer.
Everything below is either one of these five explained properly, or a tool worth adding once these feel automatic.
The makeup sponge
The single most common mistake with a sponge is using it dry.
Run the sponge under water until it swells, then squeeze it out hard in a towel. A damp sponge presses product onto skin. A dry sponge drinks it — you can lose a third of your foundation into the foam and never see it on your face.
The technique is bouncing, not wiping. Press and lift, press and lift. Dragging a sponge sideways moves foundation around instead of pushing it in, which is exactly the streaky result people blame on the foundation itself.
Sponge, or brush?
Not a rivalry — they do different things and many people use both in sequence.
A brush places product. A sponge presses it in. Apply foundation with a brush for coverage and speed, then bounce a damp sponge over the top to remove the brush marks. That two-step is how most professional-looking bases are actually done.
If you only want one: sponges are more forgiving for beginners because it is very hard to make a mess with bouncing. Brushes are faster and waste less product once your hand is steady.
Replacing it
Sponges hold water, warmth and foundation, which is a good environment for bacteria. Wash after every few uses with soap and warm water, squeezing until the water runs clear, and dry it somewhere open rather than sealed in a bag.
Replace it when it stops springing back, tears at the tip, or holds a stain you cannot wash out. A sponge that has gone hard is not doing the job you bought it for.
The eyelash curler
The tool people are most nervous about, and the one with the biggest visible payoff. Used correctly it takes four seconds per eye and cannot hurt you.
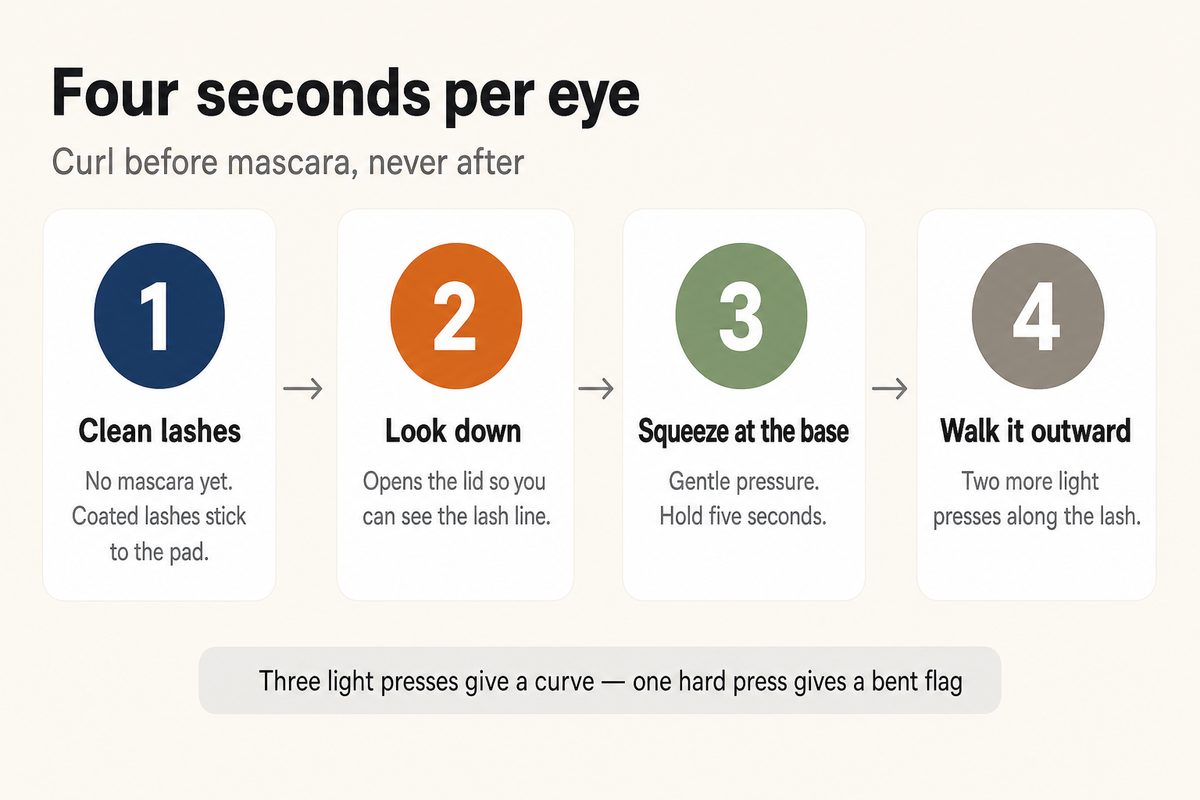
1. Curl before mascara, never after
Clamping mascara-coated lashes glues them to the pad and pulls them out. This is the mistake that makes people think curlers are dangerous. Clean, dry lashes only.
2. Open your eye and look down slightly
Looking down into a mirror moves your lid out of the way and lets you see the lash line properly. Most pinching happens because someone is working blind.
3. Start at the base, squeeze gently, hold five seconds
Position the curler as close to the root as you can without touching skin. Gentle pressure — you are bending the lash, not crushing it. Squeeze hard and you get a hard right-angle kink instead of a curve.
4. Walk it outward twice
Release, move the curler halfway along the lash, squeeze again. Then once more near the tips. Three light presses along the length give a rounded curve; one hard press at the base gives a bent flag.
If the curl drops within an hour, the usual causes are curling after mascara, squeezing once rather than walking it out, or a pad that has flattened. The rubber pad is a wear part — most curlers ship with a spare, and a squashed pad both curls badly and grips lashes.
Brow and lash tools
Brows are the fastest way to change a face and the easiest place to overdo it. Three tools stop that happening.
If you wear false lashes, the kit is small: the strip itself, glue, and tweezers to place it. Trim the strip to your own lash line before any glue comes out — strips are made long and an untrimmed one lifts at the outer corner within the hour. Wait for the glue to go tacky rather than applying it wet, and set the strip down on top of your natural lash line rather than on the skin below it.
A pencil sharpener sized for cosmetic pencils is worth the small cost too. Stationery sharpeners are cut for hard graphite and tend to shatter the softer waxy cores in brow and eye pencils.
The fixing kit
Nothing here creates a look. All of it saves one.
Cleaning and storage
These decide how long everything else lasts.
A lit mirror belongs in this section too, oddly. Bad light is why makeup that looked fine at home looks harsh outdoors — you were correcting for shadows that were never on your face.
What to carry, and what to leave
A travel kit is not a smaller version of your home kit. It is the short list of things that fix problems away from a mirror.
Sourcing beauty tools in bulk
If you are buying these to resell rather than to use, the interesting problem is not any single tool. It is that a kit is not one product.
A twelve-piece beauty tool set is a sponge factory, a metal-stamping workshop for the curler and tweezers, a plastics moulder for the sharpener, a cotton mill, and a packaging supplier. Five or six suppliers, one box, and your brand name on the outside.
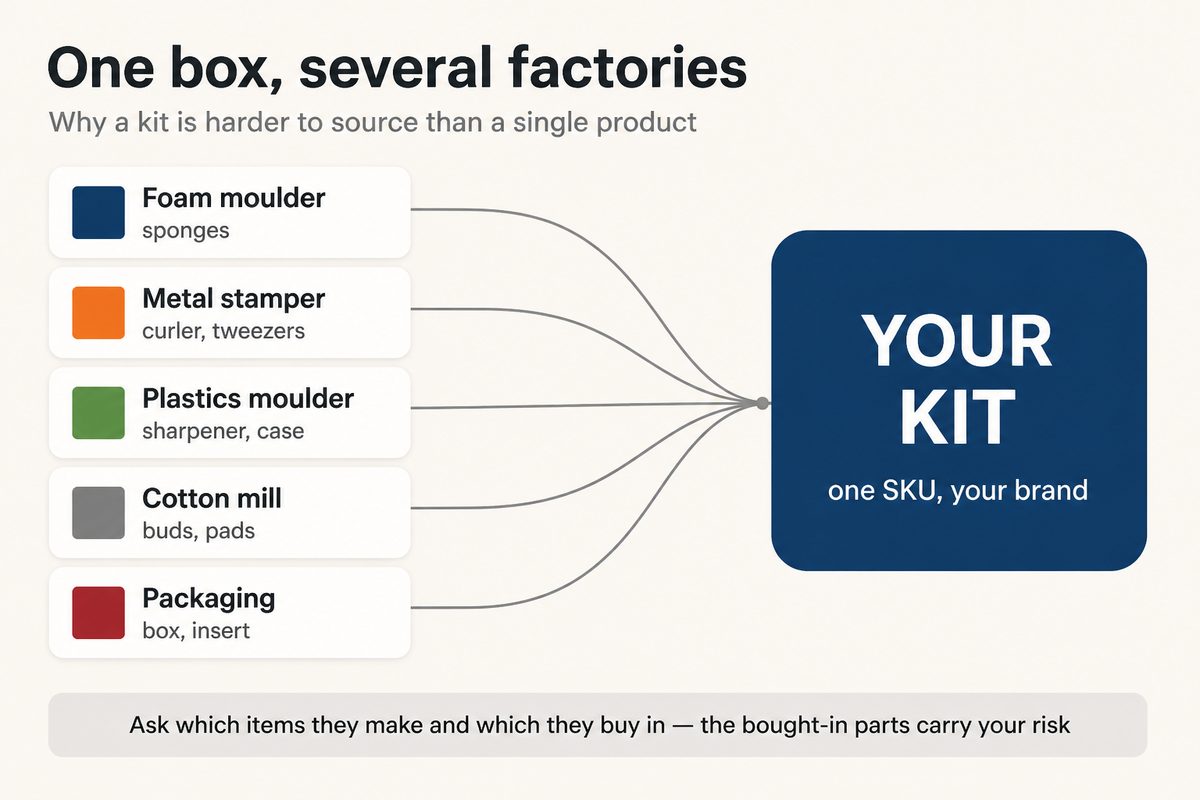
1. Who is assembling it
Usually a trading company or one supplier acting as lead. Ask directly which items they make themselves and which they buy in. That answer tells you where your quality risk sits — the bought-in parts are the ones nobody is checking closely.
2. Foam density decides sponge quality
Sponges look identical in photos and behave completely differently. Ask for samples and test the same way a customer will: soak, squeeze, and see whether it springs back to shape or stays compressed. A sponge that does not recover after wetting will get returned.
3. Metal tools rust, and it shows up late
Curlers, tweezers and scissors are the items most likely to arrive fine and fail in a humid warehouse three months on. Ask what the metal is and whether it is coated. This is worth putting in writing rather than assuming.
4. Wear parts need to be in the box
An eyelash curler without a spare rubber pad is a product with a short life and a bad review waiting. Confirm spares are included and counted — it is a common thing to quietly drop when a supplier is squeezing cost.
One more thing that catches people out: these are light but bulky. Freight on beauty tools is charged on the space they occupy rather than their weight, so a pallet can cost far more to ship than the scales suggest. Work that into the landed cost before you set a retail price — the full buying process covers how the unit price turns into what you actually pay.
And because a kit means several suppliers, the usual factory-or-trader question matters more here than on a single-product order. Checking a supplier’s business licence takes two minutes and tells you whether the company quoting you makes anything at all.
One box, six factories — know which is which
Send the item list and target price. You will get back which parts are likely bought in rather than made, what to specify on the metal and the foam, and where a kit like that usually goes wrong.
Send an enquiryCommon questions
Should a makeup sponge be wet or dry?
Wet, then squeezed out firmly. A damp sponge presses foundation onto the skin; a dry one absorbs it, and you can lose a third of your product into the foam. Soak it until it swells, squeeze hard in a towel, then bounce rather than wipe.
Do I curl lashes before or after mascara?
Always before. Clamping mascara-coated lashes sticks them to the pad and pulls them out when you release. Curl clean dry lashes, then apply mascara — that order also holds the curl longer.
Why does my lash curl drop after an hour?
Usually one of three things: you curled after mascara, you squeezed once at the base instead of walking the curler along the lash, or the rubber pad has flattened. The pad is a wear part and most curlers include a spare.
How often should I replace a makeup sponge?
Wash it every few uses, and replace it when it stops springing back, tears at the tip, or keeps a stain that will not wash out. A sponge that has gone hard is no longer pressing product in, which is the only reason to use one.
Do I need a sponge if I already have brushes?
Not strictly, but they solve different problems. A brush places product; a sponge presses it in and removes brush marks. Many people apply with a brush and finish with a damp sponge. If you are choosing one, sponges are more forgiving to learn with.
What should I check when buying beauty tools in bulk?
Ask which items the supplier makes and which they buy in, since a kit usually comes from several factories. Test sponge samples by soaking and squeezing to see if they recover their shape, put the metal type in writing for curlers and tweezers because rust shows up late, and confirm spare curler pads are included and counted.
Questions & Comments
We read every one and reply within 24 hoursNot sure which tool fixes the problem you are having, or sourcing a beauty kit and unsure what to specify? Ask below — sponges, curlers, brow tools, or a supplier quote you want checked.